My Design Process(Part Two)

I can't believe it is March already! My boys will be going back to school next week which I'm hoping will bring some sort of normality to life again and some time to focus.
I'm looking forward to giving the attic a big spring clean as it's been a temporary classroom for the past couple of months. I've never looked forward to cleaning up this much before;D
If you follow me on Instagram you will have seen I completed my Rococo Spoonflower challenge entry. Last time I showed you my research and sketches so now I'll show you the rest of the process.
Over the past year my working process has evolved and through a lot of experimenting I have found it suits me best to always start on paper where I feel most comfortable but then take my sketches into Procreate on the Ipad.
After photographing my sketches I will take each element into the largest canvas I can create and start refining my drawings and making changes. I use the most realistic looking pencil brushes I have been able to find so my digital work looks as hand drawn as possible.
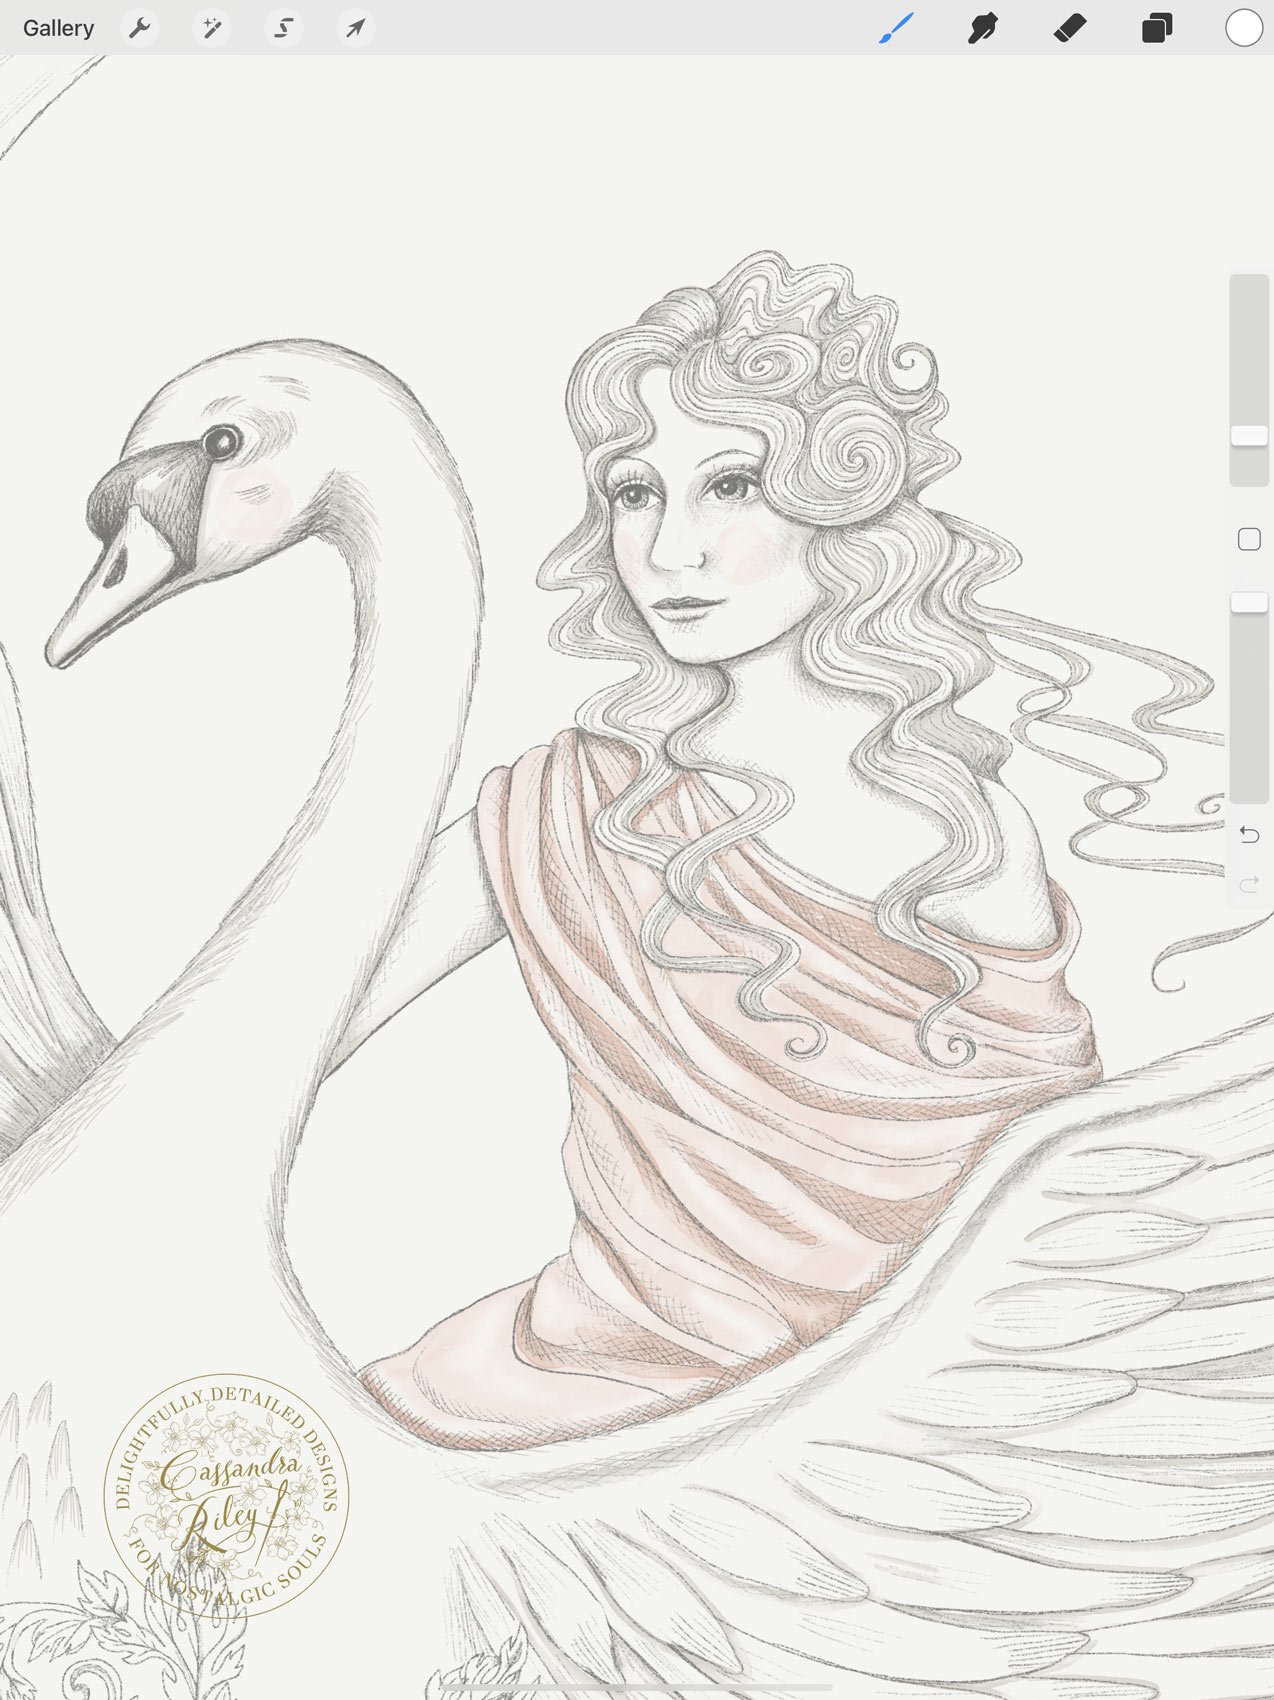
I did think Aphrodite looked a bit too young in my sketches so I changed her face a bit to rectify this.
One of the major advantages of using Procreate are the tools like the symmetry guide. I used this on the mirrored parts like the ribbon and scrolls. Previously I would probably have used tracing paper to do this.
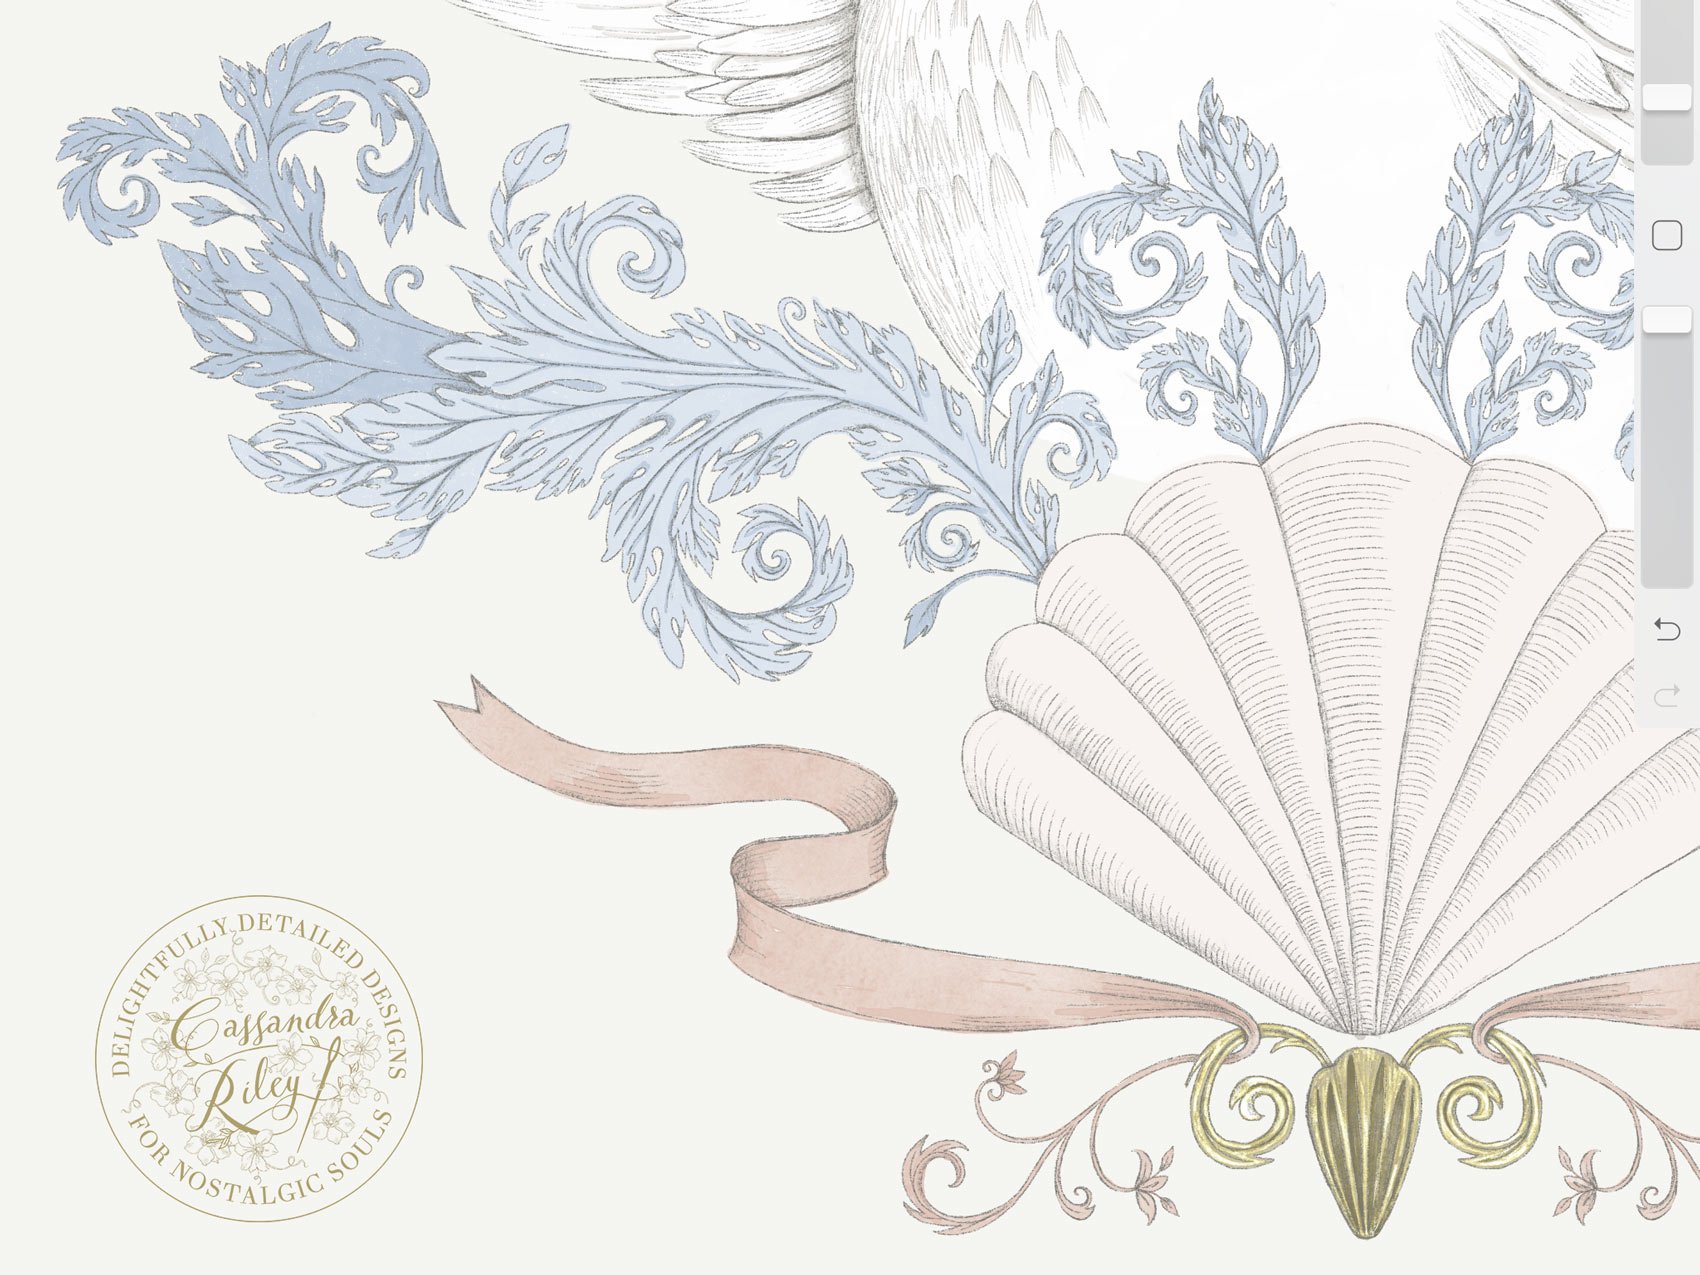

I do spend a fair amount of time on this part of my work as my line work isn’t hidden by the colour in my final pieces. Once I am happy with my line drawings I will start adding colour. I make sure I keep all my colours on different layers so they will be easy to change if I need to. I created a colour palette to use but am very flexible with changing it as I work through the piece. I wanted the colours in this piece to have a antique look as if they had been much brighter originally and faded with time.
As the pattern was going to have a formal layout I drew it in sections with an idea of how they would fit together but if it had been a more organic style pattern I would have drawn the motifs same way but probably on their own canvases all same size as I wouldn’t be sure how I would end up using them.
When everything was coloured, I took it over into photoshop to construct the pattern.I am much more comfortable making patterns in Illustrator but have been trying to improve my knowledge of pattern making in Photoshop so I can retain the textures in my work. After a lot of arranging; I decided to take out the smaller scroll section and put the flowers in it's place instead and have all the motifs in one section.

I won't elaborate on the actual pattern construction too much as like I said I am still learning and trying to work out which methods suit me best in photoshop. I ended using a brilliant photoshop action I have called Seamless Pattern Fix by Pink Coffie and working out which size canvas made it all fit together the way I wanted. I also added a texture to make it look aged. I am really pleased with the final pattern which is shown at the top of the email and will make a few more accompanying patterns which are less elaborate.
Thanks for reading to the end!
Cassandra xx